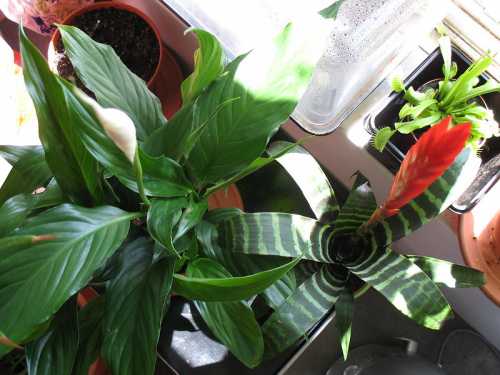
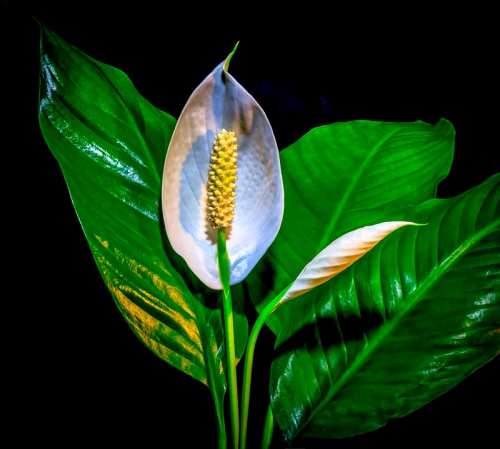
The peace lily is a gorgeous house plant native to warmer atmospheres of South America and Southeast Asia. The peace lily plant consists of lush green leaves and a single white, resplendent leaf that hoods the stem bud.
The two-toned look of green and white in the peace lily plant adds a splash of colour to even the most monotonous surroundings. This article will tell you all about caring for a peace lily, including minutiae like the best potting soil for a peace lily.
The peace lily is a social media favourite and can be found in all Pinterest-inspired homes. In addition, interior decoration is inclining towards using plants and flowers to add some colour and texture in professional spaces such as offices.
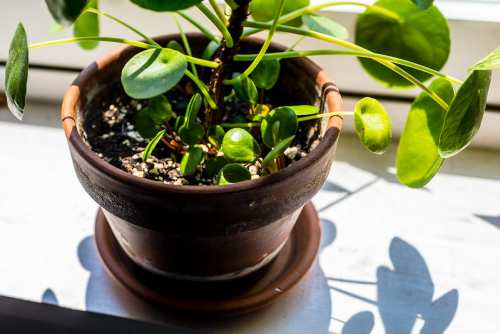
Best Potting Soil for Peace Lily
The peace lily is a plant native to warmer weather conditions such as those present in SouthEast Asia. Peace lilies do much better in low water and high heat than in high water and low heat; a peace lily cannot bear cold drafts.
Soil would be suitable for peace lilies only when it is well-draining and can hold moisture. However, nearly every soil designed for houseplants can work well for a peace lily, given that you take adequate steps to drain the plant.
Choose any soil meant for houseplants and water it. Fertilize the ground as required and make sure to make drainage holes at the bottom of the flower pot to prevent waterlogging.
Also Read: Holes in Peace Lily Leaves: Why and What Causes
How to Make your Potting Soil for a Peace Lily Plant?
You can make your homemade potting soil for peace lily plants easily. To make your potting soil mix a peat potting soil with one part peat moss and perlite. Also, add one part sand.
Place all the ingredients in a bowl and mix well to form your homemade potting soil fit for a peace lily plant. Water and fertilize as required.
Caring for a peace lily
Peace lilies are a beautiful plant to have around and not at all difficult to maintain or take care of. With regular Watering, little light and some fertilization, they bloom beautifully.
Light
Peace lilies thrive in low, indirect light (both sunlight and fluorescent light). If you are confused about where to keep them, place them on a window-sill. While peace lilies can tolerate light, they do not do very well in bright sunlight, thus keeping them in partial shade.
Also Read: How Much Sunlight Does Peace Lily Need?
Water
Peace lilies need a moderate amount of water for their growth and nourishment. Both extreme cases, i.e. overwatering and underwatering, can be harmful to the peace lily plant. While overwatering causes waterlogging and prevents the roots from soaking water for photosynthesis, underwatering kills the plant by drying it up.
Water your peace lily around every 7-10days and even fewer times during winters. An excellent way to know if your plant needs water is to check the dampness of the soil. Fading, wilted or brown leaves are signs of water stress and should be checked immediately.
Also Read: How Often Should I Water My Peace Lily?
Drainage
Drainage is important for most plants but is essential for a peace lily. Lack of drainage holes in the pot or well-draining soil can slowly kill your plant by causing waterlogging.
Before transferring your peace lily to a new plant, look for drainage holes and make them if they do not exist. Also, ensure that you have chosen a well-draining soil for your plant to grow in.
After watering the plant once, allow the top two inches of the soil to dry before watering again. Between each Watering, dispose of the excess water in the tray below the pot.
Temperature
It would help if you placed peace lilies in a maintained temperature between 65-78 degrees Fahrenheit. Please keep them in warmer places such as inside the house during winters as peace lilies cannot tolerate cold.
Maintain a consistent temperature and avoid extreme weather changes impacting your plant directly.
Fertilization
Peace lilies do not need to be fertilized too often as they can survive on a few vitamins. Instead, fertilize your peace lily plant once every spring and summer as these are the months when it is most active. Do not fertilize during cold months as the plant stays dormant then.
Transplanting
With time your plant will grow too big for its pot, and that is when you must transplant it to a new and bigger pot. Also, once the roots start to drink up the water too quickly, you should transplant them. Another sign that your plant needs transplantation is the presence of full leaves and a compact appearance.
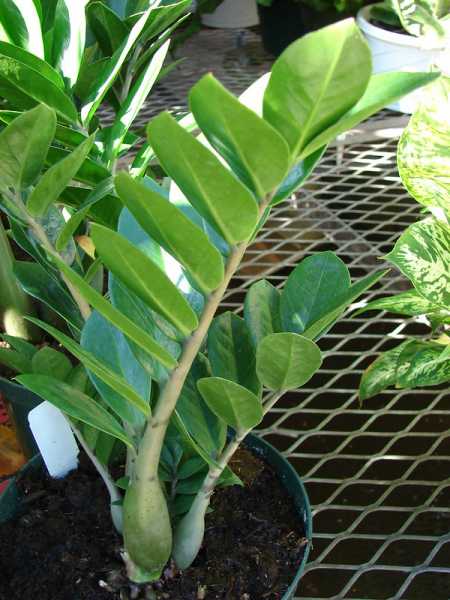
Also Read: Best Potting Soil for ZZ Plant
Why is the peace lily plant so famous?
The peace lily plant is a very popular closet plant choice and is seen as décor pieces in homes, offices, rooms, hospitals and more. There are two reasons behind the popularity of a peace lily plant: its beauty and its benefits.
While anyone can easily notice the visual beauty of peace lily, not many are aware of the multitude of health and other benefits it provides. Let’s have a look-
Low maintenance
The peace lily is a sweet-tempered and low maintenance plant; it needs to be watered not so frequently, it does not require too much light or fertilization. Therefore, even the busiest of people can find it in themselves to look after the requirements of a peace lily plant.
So if you are forgetful or extremely busy and still want to own a house plant, the peace lily is the answer.
Air purifier
Peace lily plant is a natural air purifier; it cleans the air of the area it is kept in. Peace Lily plant purifies the air of harmful substances such as Chemicals and their vapours. Indoor air can be just as dangerous and unhealthy as outdoors air and can cause health issues.
Peace lily plant is scientifically proven to cleanse the air of pollutants like carbon monoxide, xylene, benzene, formaldehyde and harmful chemical vapours.
Acetone vapours
Acetone used in paints, varnishes and even nail paint removers is severely harmful to humans. Exposure to Acetone vapours can cause headaches, lack of coordination, low blood pressure and other neurological disorders.
Peace lily plants absorb these acetone vapours present in the environment, thus catering for a safer environment. Consider getting peace lilies if you have recently painted your home/office or own a nail salon.
Better sleep
In the contemporary world of hustle and grind, we often lack a good restful sleep. Yet, a good night’s sleep is essential for our entire body-right from our mind to our skin. Better sleep means better health, better digestion, better concentration and coordination.
Peace lily plant promotes a peaceful environment and calms the mind to accelerate getting a good night sleep. If you are dealing with insomnia or sleep problems, get a peace lily plant to promote serenity.
Mildew
Mildew is a nagging pest that takes home in wet areas such as corners in the shower, humid rooms etc. mildew grows on clothes and other surfaces to nag us. Thankfully peace lily plants absorb excess moisture in the air and prevent mildew formation. However, mildew spores can be damaging and harmful in homes and offices.
Décor
My favourite advantage of owning a peace lily plant is the easy décor option. Peace lily plants are so versatile that they can be placed in any surrounding-colourful, monotonous, formal, informal etc., and they would still harmonize with the room’s rhythm.
You can keep your peace lily in your room, in the living room, in the office reception, washrooms etc. and it would look good.
Peace Lily Problems
Now that you know how to take care of a peace lily plant and what soil conditions are best for it let’s look at the common problems you may encounter while growing a peace lily and how to cure them.
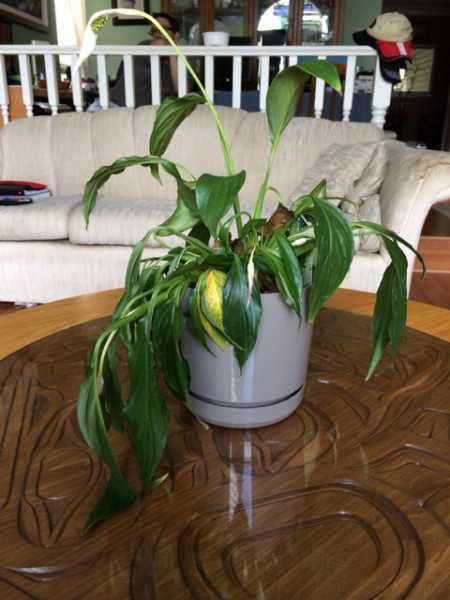
Wilting leaves
A very common problem gardeners face is wilting of leaves of the peace lily plant, which can be caused due to several reasons. Both overwatering and underwatering are popular causes of the sagging of leaves as both restrict the absorption of water by the plant.
Brown Discoloration
Another common plant issue is brown discoloration on the leaves; this can be caused by water and light problems. Overwatering is most likely the cause of brown edges as well as too much light.
Also Read: Why Peace Lily Flower Turning Yellow, Brown or Black?
Yellow leaves
Watering can cause yellowing of leaves and give the traditional lush green leaves a wilting appearance.
Pests
Pests can eat away the plant’s foliage giving it an unhealthy appearance and killing the plant by causing various diseases. Therefore, it is essential to keep the leaves clean to avoid pest infestation and look for any signs of them.
Conclusion
Peace lilies are a resplendent house plant infamous over social media for their aesthetic. The peace lily is native to warmer regions and thus needs low light and little water. The best potting soil for peace lilies drains well and is meant to cater to the needs of a houseplant.